It's been crazy with meetings, helping the hubby with work, blogging and my biggest time consumer this week--Victoria s turning the big six. A good friend of mine turned me on to the idea of alternating years for birthday parties. Last year, we took Victoria on a vacation, and this year she gets a party. It eases the whole party planning stress when you have three kids...thank you, Catherine!!
Even with the ease of this being a one party year , everytime birthdays come rolling around, I have this internal battle that starts. I am a BIG planner. Administration is my spritiual gift, and anything that has to do with planning is my thing. I can tend to get a little crazy with the planning, and drive myself into a quick trip to the coo-coo house trying to implement all my insane ideas. So, there's this constant checking I have to keep doing to make sure I'm not going over board.
This year, Victoria asked for a Pinkalicious Party....can I tell you just how excited I was when she told me that...I LOVE pink!!
Anyways....one of my favorite projects for birthdays is a homemade banner.
It's such a fun, easy way to decorate for a kids birthday and make them feel special that you took the time to add a personal touch.
You will need:
12 x 12 scrapbooking paper (get the good heavy stuff; each page makes four letters)
Layering paper (I found some 12 x 12 pages with cupcake designs)
Ribbon--I just dug up whatever pink I could find in my craft stash.
A paper cutter (Or scissors if you have a steady hand)
Hot glue
Have fun picking out your ribbons and paper...get creative! I like to use two or three different ribbons on each strand, just to make it fun.
Using your paper cutter, cut as many 6x6 squares as you need. One for each letter. Each 12 x 12 sheet makes four squares.
Cut your layering paper into 5 x 5 squares. I only do every other letter with layering paper, so I need half as many of these.
Using the word processor on your computer, choose a font to type your letters in. Start with a font size of 350. This works for most fonts. Print a test. If you aren't able to cut the letters into a 4 x 4 square, try a smaller font size.
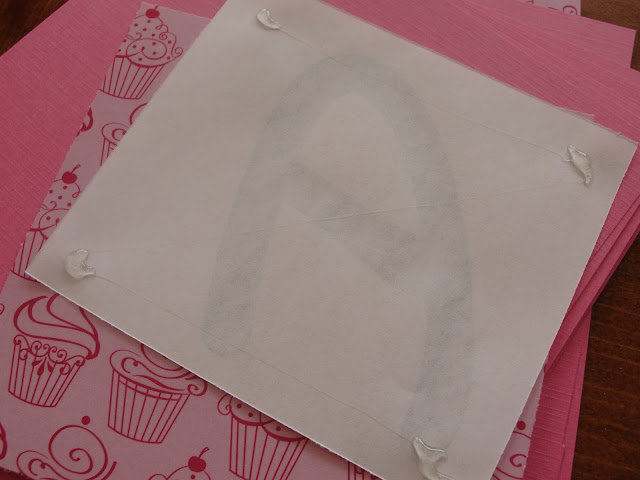
Print and cut your letters into 4 x 4 squares. Don't get too crazy trying to get this perfect. If you take a close look at my sign, the letters are all different size squares. I had to cut a few down smaller to make it set right. I like it...it gives it character!
Lay out your first strand of letters making sure to space them out pretty much evenly. String your ribbon across (I like to put the ribbon to the front. You can put it behind the blocks if you want too).
Staple your ribbon to the squares. Make sure you line it up so that all three (or two) are caught with the staple. Keep a staple remover close by. If you're like me (in a hurry with a three year old "helping"), you will surely need it ;)
I use staples so that I can take the banner apart if I want and reuse the ribbon and paper. It's hard when it comes to parties, but still try to reduce, reuse and recycle!!
Dab a little hot glue in each corner of your letters, and glue to it's square making sure to center it (or first to it's it's layering paper).
Hang and Enjoy!!
Happy Crafting!!


No comments:
Post a Comment